Introduction
Embrace the beauty of autumn and personalize your everyday essentials with this delightful DIY project: Fall Leaf Pressed Flower Phone Cases. This tutorial guides you through transforming ordinary phone cases into unique, wearable art pieces using the vibrant colors and delicate textures of pressed fall leaves and flowers. It’s a perfect craft for nature lovers, DIY enthusiasts, or anyone looking to add a touch of seasonal charm to their accessories. Not only is this project creatively fulfilling, but it also allows you to preserve the fleeting beauty of autumn in a practical and stylish way. Get ready to create a truly one-of-a-kind phone case that reflects your personal style and appreciation for nature’s artistry.
Materials Needed
To embark on this creative journey, gather the following materials:
- Clear Phone Case: Choose a clear, hard-shell phone case that fits your specific phone model. The transparency is crucial for showcasing your pressed botanicals.
- Pressed Autumn Leaves and Small Flowers: Collect a variety of fall leaves in different shapes, sizes, and colors (e.g., maple, oak, birch). Additionally, gather small, delicate flowers that can be easily pressed. Ensure they are clean and dry before pressing.
- Flower Press or Heavy Books: A traditional flower press is ideal for flattening and drying your botanicals. Alternatively, you can use heavy books, placing the leaves and flowers between sheets of absorbent paper (like parchment paper or newspaper) within the book.
- Tweezers: These are essential for delicate handling and precise placement of the pressed botanicals on your phone case.
- Clear Resin or Mod Podge (or similar clear sealant): For a durable, glossy finish, a two-part epoxy resin is recommended. If you prefer a simpler, less permanent option, Mod Podge or another clear-drying craft sealant can be used. Ensure the product you choose is suitable for plastic surfaces and dries clear.
- Small Brush or Applicator: For applying the resin or sealant evenly over your design.
- UV Lamp (if using UV resin): If you opt for UV resin, a UV lamp is necessary for curing. Follow the manufacturer’s instructions for curing times.
- Protective Surface: A silicone mat, wax paper, or old newspaper to protect your work surface from spills.
- Gloves (if using resin): Always wear gloves when working with resin to protect your hands.
- Rubbing Alcohol and Cotton Swabs: For cleaning the phone case before application and for any minor clean-ups during the process.
Step 1: Gather and Press Your Botanicals
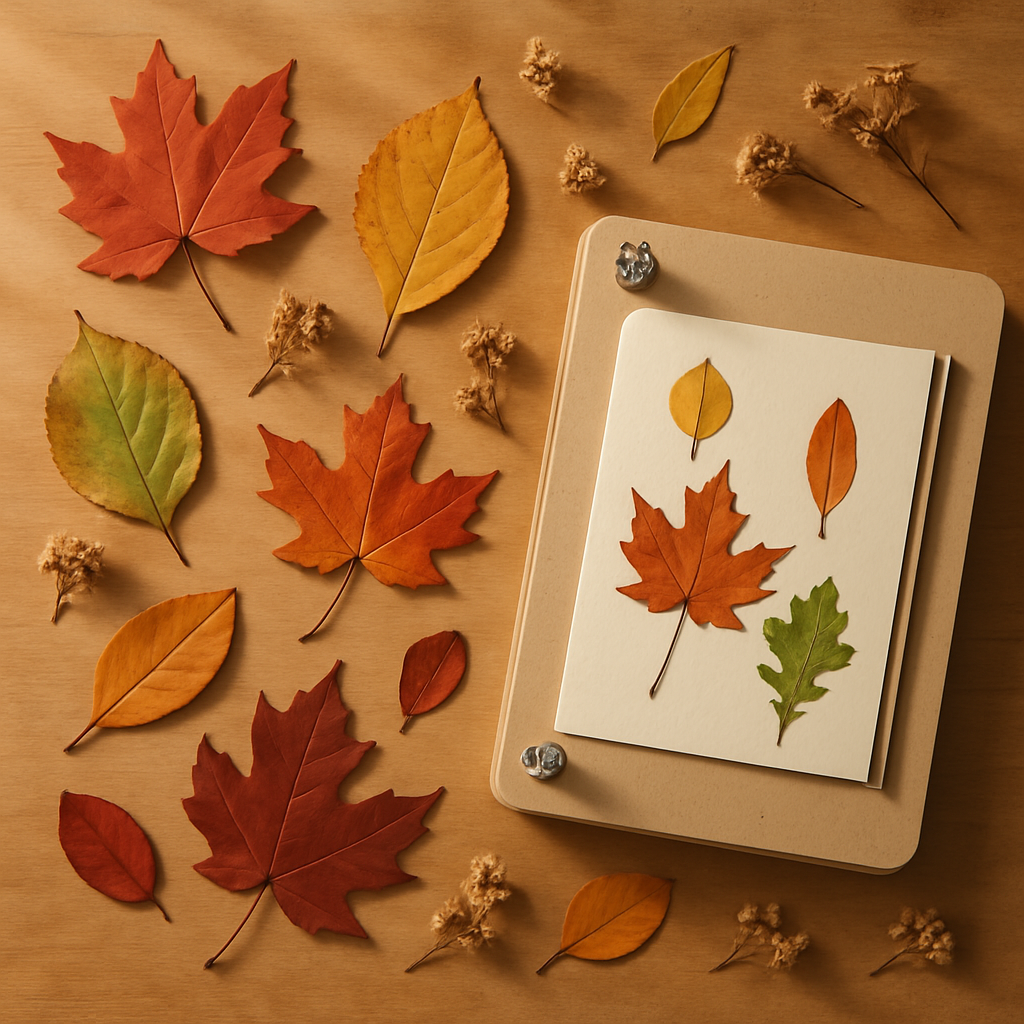
The first and most crucial step is to gather your natural elements. Head outdoors and collect a variety of autumn leaves and small, delicate flowers. Look for leaves that are relatively flat and free from blemishes or tears. Maple leaves, oak leaves, and smaller, colorful foliage work wonderfully. For flowers, consider tiny blossoms that will press well and fit within the phone case’s dimensions. Once collected, it’s time to press them. If you have a flower press, arrange your botanicals carefully between the pressing sheets, ensuring they don’t overlap. If using heavy books, place the leaves and flowers between sheets of absorbent paper (like parchment paper or newspaper) and then stack heavy books on top. Allow them to press for at least 1-2 weeks, or until they are completely dry and flat. This process removes moisture, preventing decay and ensuring your design lasts. The image below illustrates a selection of pressed botanicals ready for use.
Step 2: Arrange Botanicals on Your Phone Case
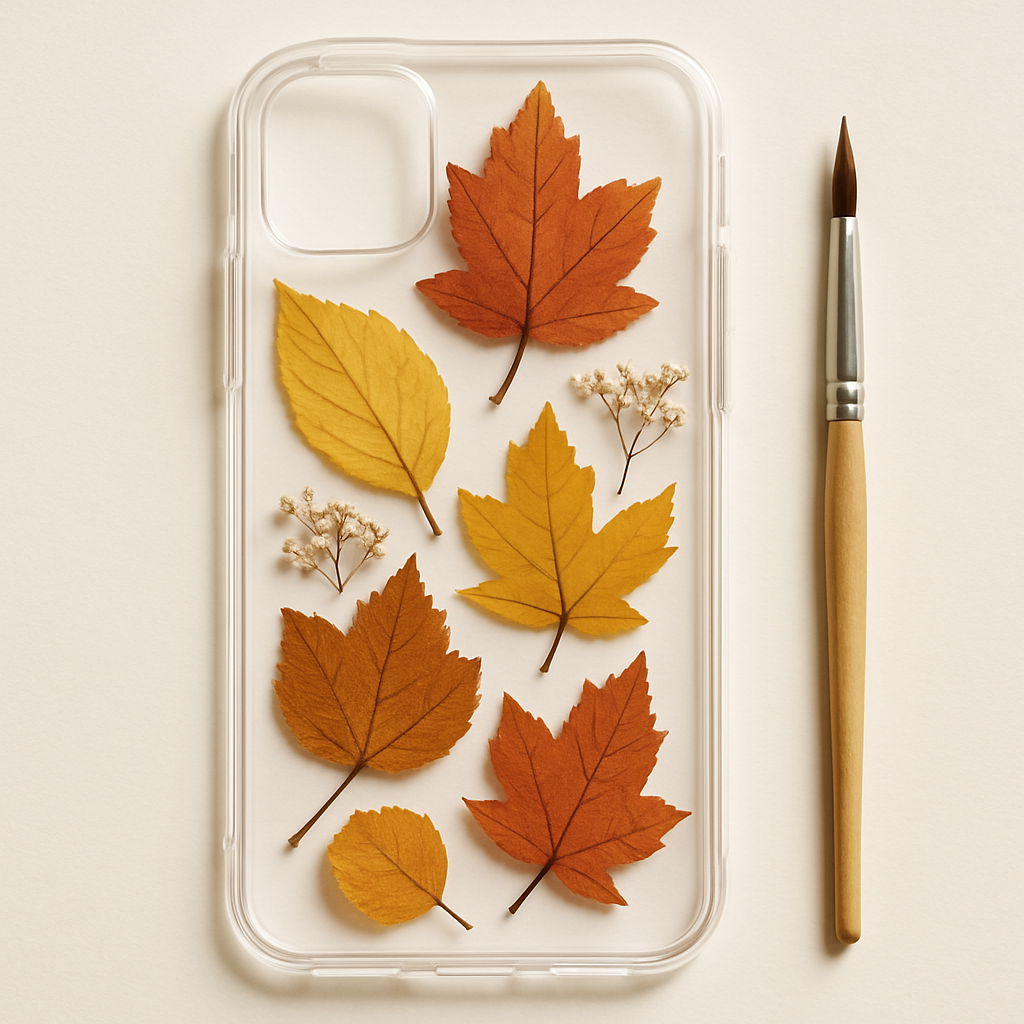
With your botanicals perfectly pressed and dried, it’s time for the creative arrangement. Begin by thoroughly cleaning your clear phone case with rubbing alcohol to remove any dust, oils, or fingerprints. This ensures optimal adhesion of your design. Once clean and dry, start experimenting with the placement of your pressed leaves and flowers on the inside surface of the phone case. Use tweezers for precise handling, as the botanicals can be quite delicate. Play around with different layouts, colors, and sizes until you achieve a design that you love. Consider overlapping elements for depth and visual interest. Take your time with this step, as the final arrangement will be permanently sealed. The image below shows an example of a beautiful botanical arrangement on a phone case.
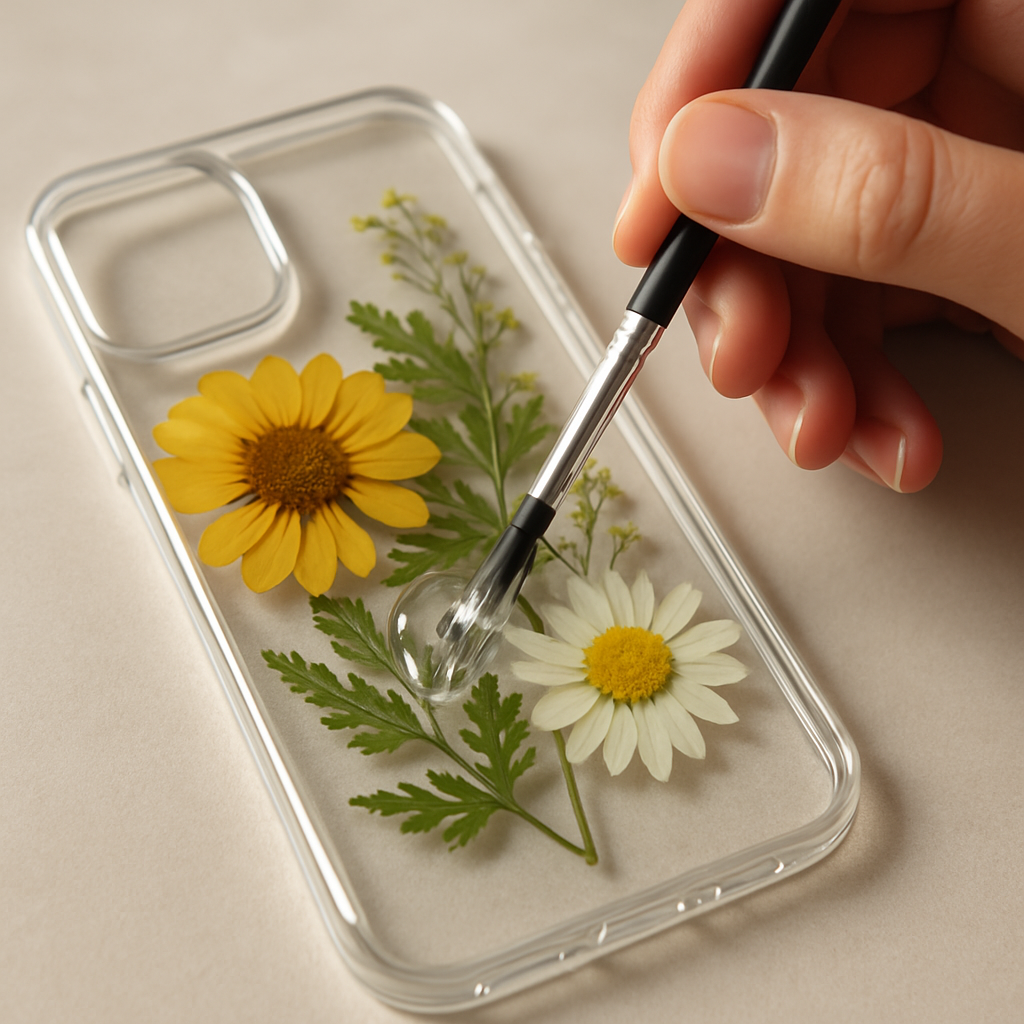
Step 3: Seal Your Design
Once you are completely satisfied with your botanical arrangement, it’s time to seal your design. If using two-part epoxy resin, carefully mix the two components according to the manufacturer’s instructions. Work in a well-ventilated area and wear gloves. Slowly pour or brush a thin, even layer of resin over your arranged botanicals, ensuring all elements are fully covered and encapsulated. Use a small brush or a toothpick to gently spread the resin to the edges and pop any air bubbles that may form. If using Mod Podge or another clear sealant, apply a generous, even coat over the botanicals. The goal is to create a smooth, clear protective layer that will preserve your design. The image below demonstrates the application of a clear sealant.
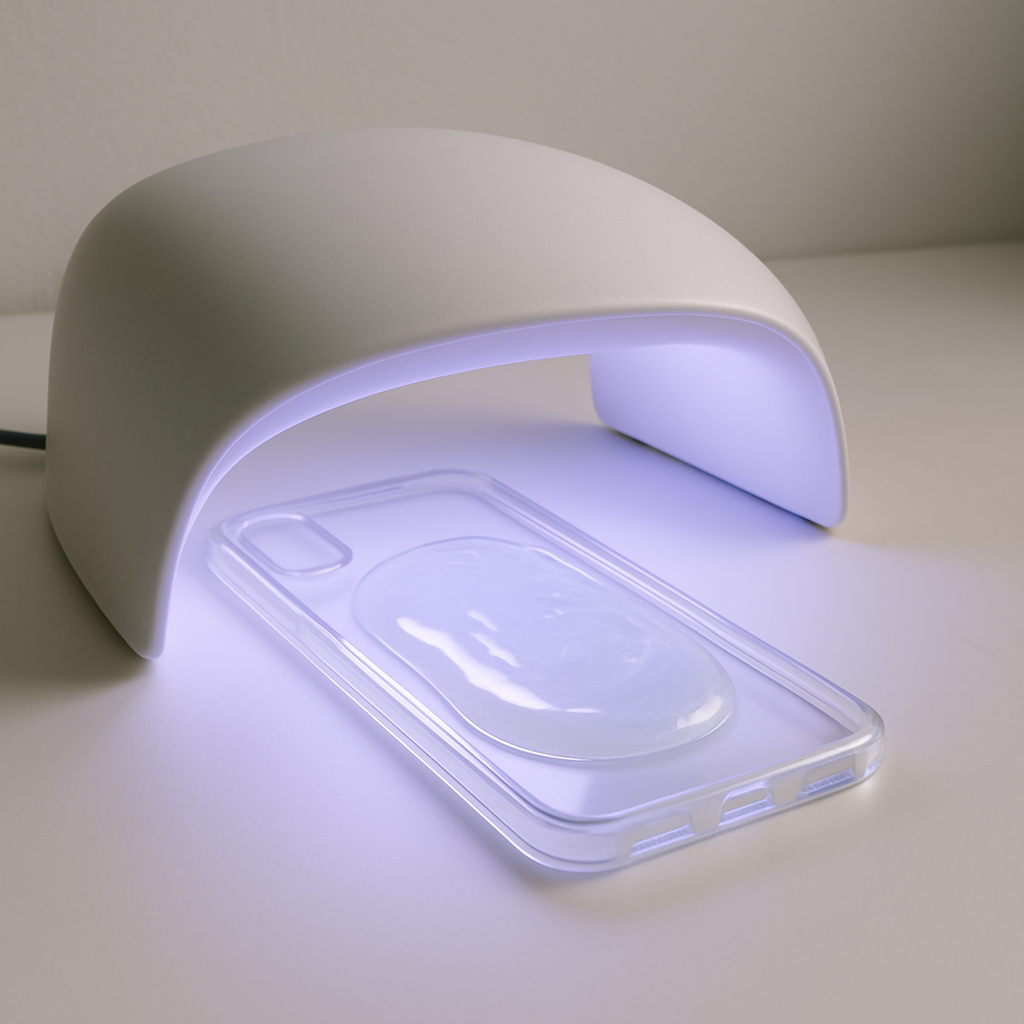
Step 4: Cure and Finish
After applying your chosen sealant, the next step is to allow it to cure or dry completely. If you used UV resin, place your phone case under a UV lamp for the time specified by the resin manufacturer (typically a few minutes). The UV light will rapidly harden the resin. If you used epoxy resin or Mod Podge, place the phone case in a dust-free, well-ventilated area to cure. Epoxy resin can take anywhere from 12 to 24 hours to fully cure, while Mod Podge typically dries within a few hours, though a full cure can take up to 24-72 hours. Avoid touching or disturbing the case during this time to prevent imperfections. Once fully cured, your phone case will have a smooth, durable, and glossy finish, protecting your beautiful botanical design. The image below shows a phone case curing under a UV lamp.
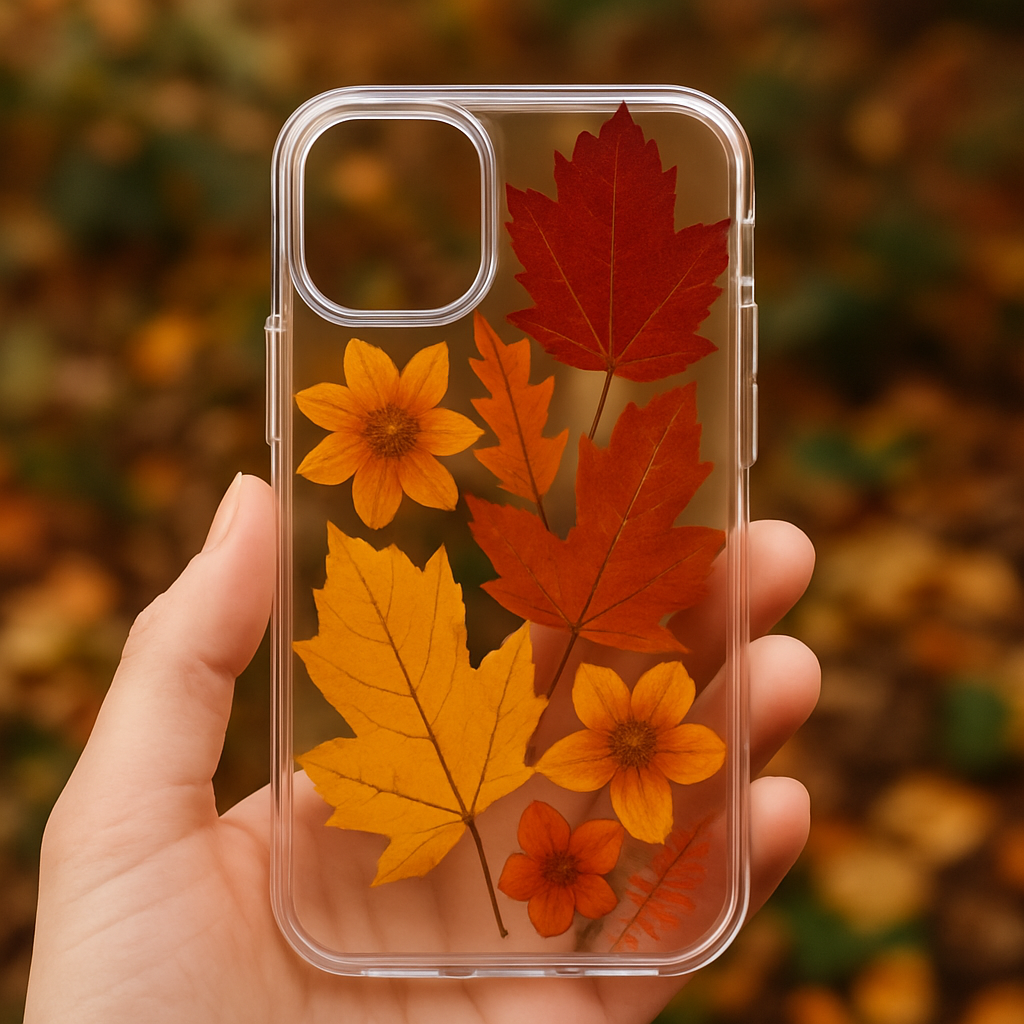
Step 5: Enjoy Your Unique Phone Case
Congratulations! Your fall leaf pressed flower phone case is now complete. Once the sealant has fully cured and hardened, your phone case is ready to be used and admired. Carefully place it on your phone and enjoy the unique, personalized accessory you’ve created. This phone case is not just a protective cover; it’s a miniature piece of art that captures the essence of autumn and your creativity. It also makes for a thoughtful and unique handmade gift for friends and family. The image below showcases a finished phone case, ready to be enjoyed.
Conclusion
Creating your own fall leaf pressed flower phone case is a rewarding and enjoyable craft that allows you to bring a piece of nature’s beauty into your daily life. This DIY project is not only a wonderful way to express your creativity but also offers a unique opportunity to preserve the fleeting charm of autumn. With a few simple materials and a little patience, you can transform a plain phone case into a stunning, personalized accessory that will surely spark conversations. We hope this tutorial has inspired you to explore the art of botanical pressing and to create your own wearable masterpieces. Happy crafting!